Brighten up blindspots.
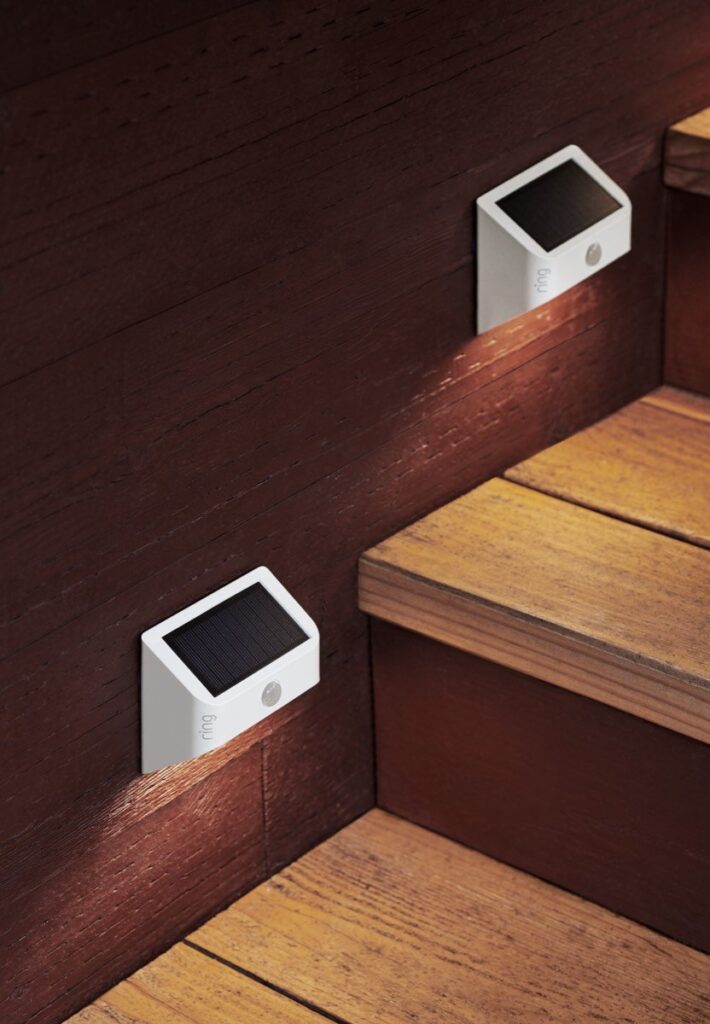
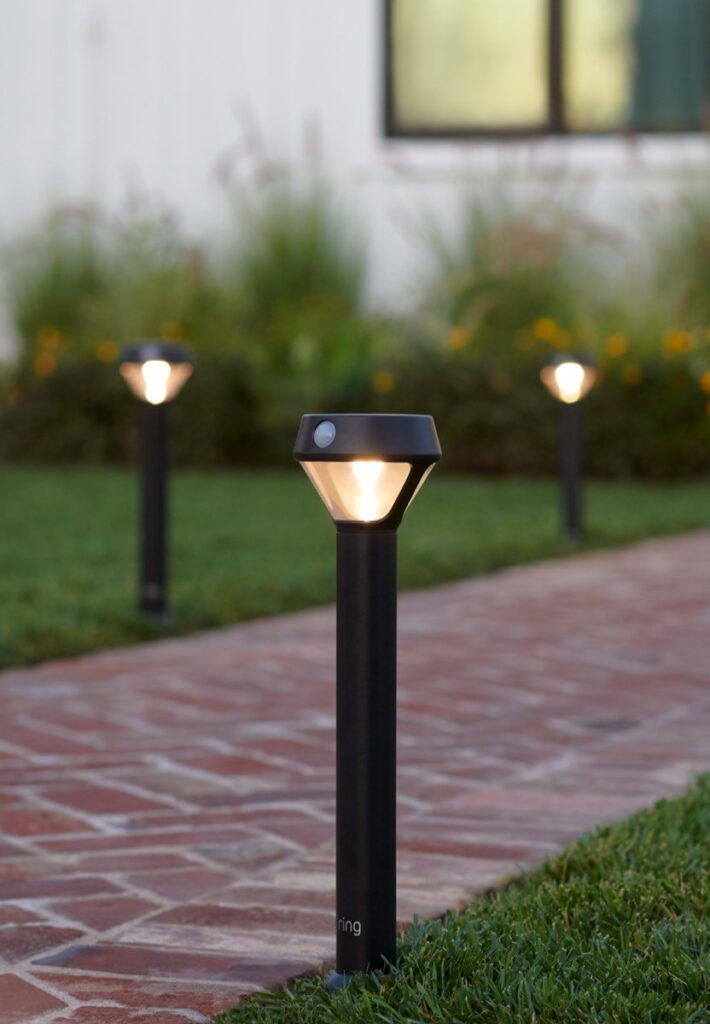
Pathway Lighting
Light every step you take. Pathlights are perfect for driveways, walkways and gardens while Steplights illuminate decks and stairs.
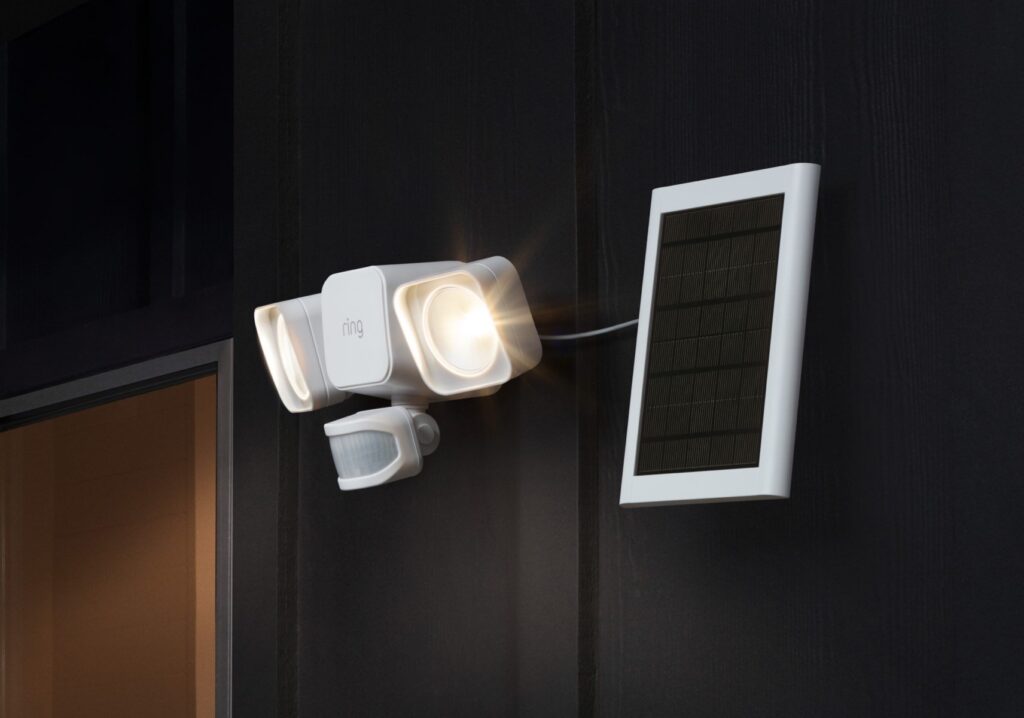
Outdoor Mounted Lighting
Shine a light from up high with mounted lights. Illuminate large areas like the driveway and backyard with Floodlights for security and safety. Or focus on a single area like a porch or shed with Spotlights.
Smart LED Lightbulbs
Enjoy the flexibility of energy-efficient smart LED bulbs. Simply screw into compatible lamp sockets for smart control from anywhere.
Hardwired lights give you nonstop power around the clock. Battery-operated lights can be placed almost anywhere. And solar lights offer added convenience.
Connected Devices
Connect to select Ring devices to see what’s happening from a single dashboard and control them with one simple app.
HOME IMPROVEMENT: REPLACING OUTDOOR LIGHT FIXTURES
I can’t tell you how many times I’ve wanted to learn how to re-wire something electrical. Like, a light fixture, a fan, an outlet. But I’ve been a little chicken because my mind always goes directly to imagining a billion watts of current, shocking my body….leaving me lifeless on the ground. I’m not kidding. I’ve been a little wimpy to do anything electrical because it sorta freaks me out.
Maybe you’ve done this before and it seems pretty simple. But I always thought we should hire an electrician for such jobs.
I’m going to show you the process of replacing our back porch light……because it was smaller and easier to manipulate while taking pictures.
First of all, start unscrewing/untwisting/un-clipping your old light fixture. Everyone’s is a little different…..so do what you need to, to remove yours from its mount
Now, you should see some plastic caps covering your wire ends. There should be black wires, white wires, and some copper colored ground wires. (Again, yours may be a little different……but black and white seem to be pretty standard. But the ground wire could be another color.) Unscrew them right off and then untwist the wire ends.
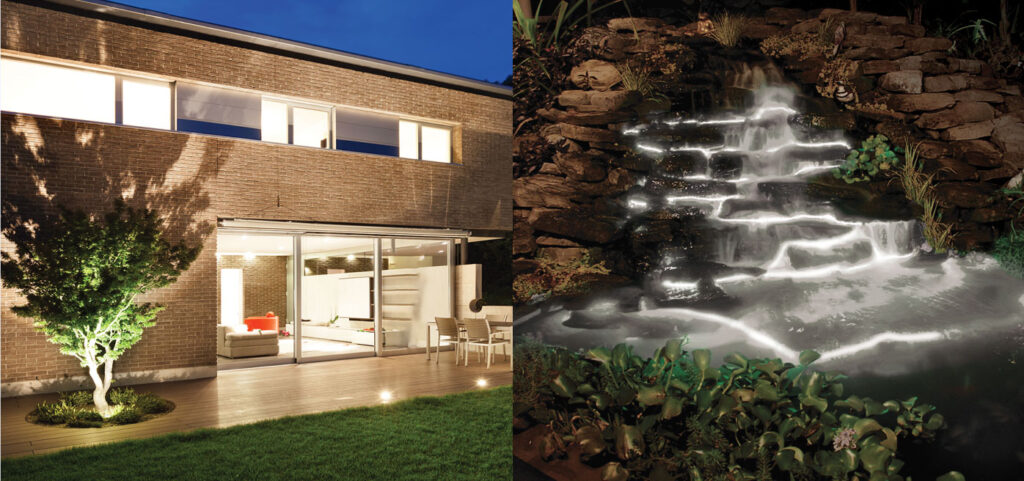
How to Design Your Landscape Lighting
Landscape lighting is the ideal way to add drama, beauty and allure to your home exterior at night
Form Ideas for Your Landscape Layout
Walk the landscape during the day and night to select key focal points: A stoic oak tree, a tall, handsome palm, a majestic group of juniper shrubs. Or hardscape feature a stone wall accented with fine travertine capstones, a carefully crafted facade, or even water features. These are all great examples to give you an idea of what to look for when it comes to focal areas of your landscape. These are the main visual features, and the first level of light in the landscape. Once the key focal points are defined, lighting can then be selected for other areas of the landscape, such as pathways leading through a garden, deck areas, porches and driveways.
Make a Sketch of the Landscape
Next, it’s time to sketch a drawing of the landscape. Begin the sketch by drawing a perimeter, adding buildings, decks, benches, trees, shrubs, vegetation, and decorations of any significance in the garden. Highlight all of the key focal points defined in Step 1, along with the approximate height and length of those objects. Draw in any existing landscape lighting. This will help you choose between a 120V or 12V landscape lighting system in the next steps.
Select Your Landscape Lighting Fixtures
It’s important to select the right fixtures for each designated area of your application. There are two key questions to answer here: Do I have an existing landscape lighting system? and How large is my layout?
Accent, flood and in-ground landscape fixtures by WAC Lighting can be controlled for color, beam width and brightness levels–though more on this later.
WHAT LIGHT FITTINGS SHOULD WE INSTALL OUTDOORS WHEN IT RAINS AND IT’S WET?
It’s raining. This is not abnormal here in the UK, especially during this time of the year, but this changes everything. Less time spent outside, more time spent indoors, and if possible, minimise the trips through the rain. Take the bus, drive, or take the train, so that your day won’t be ruined by the rain. That is, unless you love rain and you’re a hardcore outdoors person, in which case go for it!
When it rains outside and we have a wet and humid weather we need to be extra careful with what kind of lighting we use outdoors. There’s such a thing as IP rating, the international protection rating, which says what kind of lights can be used outdoors (especially in this country!).
IP44 rated light fittings are good for wall ligthing (especially if they are covered by a roof extention or something), but it is best for a light fitting to be IP65 rated, that is, to be waterproof and sealed for any dust and water particles.
Waterproof Wall Lights for Outdoor Lighting
There is a wide range of wall lights, but not all can be used outdoors; it is recommended to install a wall fitting that is at least IP44 rated so that water would not reach the electricals, or even an IP65 or IP67 waterproof fitting (to be more secure).
Also, depending on where do you want to mount the light fitting – whether by the entrance of the house, the side wall of the house, behind the house, on the garden wall, etc – there are all kinds of fittings that are suitable.
HOW I CONVERTED AN INDOOR PENDANT LIGHT FOR OUTDOOR USE
When I began planning the decorations for our patio renovation, I knew I wanted a pair of outdoor pendant lights hanging over our new dining table. But I couldn’t find any outdoor lights that spoke to me. I checked out hardwired lights, plug-in lights, and solar powered lights. I just didn’t love what I saw. Finally, I happened upon the perfect light for my space—a basket-style pendant with a gray wash wicker material.
I was very motivated to make a pair of these basket-style pendant lights work in my outdoor area. So after a bit of sleuthing I had everything I needed to make it suitable for outdoor use. Check out how I converted the light, and maybe you can do the same thing in your outdoor living space!
Supplies:
-Polyurethane (or Polycrylic if you’re spraying something white, as Polyurethane will slightly yellow)
–Weatherproof pendant light cord
–Staple gun or cup hooks
–Weatherproof extension cord (optional depending on your needs)
My light came with a pendant kit meant to be hardwired into the ceiling. It would have been much more economical to just buy pendant shades that I liked, but alas. The heart wants what it wants. I couldn’t use the light as it was, because it wasn’t rated for outdoor use. An exterior light needs to be weatherproof, considering all of the electrical components. Additionally, the materials used on the shade were not meant to withstand rain and sun, so they needed attention too.
Weatherproof your shade. If your shade is made of metal, it should be galvanized or else be powder coated to withstand moisture. Otherwise, it will rust. If it is fabric, you should waterproof it or it will mildew. My shade was made of metal and rattan (like a wood/reed material), so I needed to seal it with a decent coat of polyurethane to keep any moisture from soaking into it. I sprayed about four somewhat thick coats of polyurethane and allowed it to dry.